
What is silver clay and how do you use it?
When I tell people that I make jewellery from silver clay, and teach silver clay jewellery workshops in Bristol and beyond, the most common reaction I get is: ‘oh wow, that sounds cool’ … swiftly followed by: ‘err, what actually is that?!’
It’s easy for me to forget in my excitement about the material, that actually the words silver and clay probably sound quick random together.
Is it clay….or is it silver?
So, to help those of you who are new to silver clay and intrigued to find out a bit more, here is my brief overview about what silver clay is, and how we use it.
What is silver clay?
First manufactured in Japan in 1990s, silver clay – and all metal clays in fact – consists of fine particles of solid silver, which have been mixed with an organic binder – the clay. The silver itself is recycled, making this an environmentally friendly material.
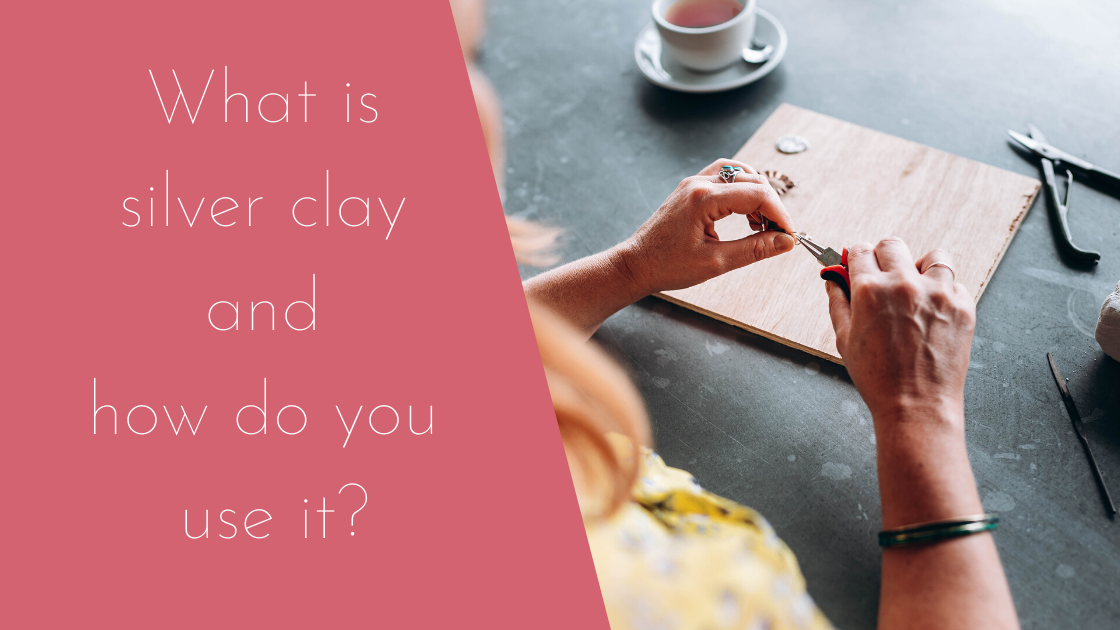
How do you use silver clay?
The silver clay comes in packages which are measured by weight – typically 7 grams, 10 grams or 20 grams. In our silver clay jewellery workshops we use enough to make at least 2 small pendants, sometimes even more!
At first, the clay feels like, well, clay! It’s easy to mould and shape in the same way as clay, making it ideal for beginners to jewellery making.
What’s more, the fact that it’s water soluble means that you can easily stick pieces together using a paste of silver clay and water, allowing for complex designs which don’t require soldering – my least favourite part of traditionally jewellery making techniques.
It also means that you can press the clay into moulds – which is something I teach in my classes too – we create beautiful pendants from natural objects such as shells, leaves and seed pods.
Once the piece of jewellery is made, it needs to be left to dry fully before it can be fired. It will need about 24 hours to dry out completely at room temperature, however the process can be sped up using an oven or hot plate.
Once you have a dry piece of silver clay jewellery, you can sand the edges to make them neater, and then it’s time to fire it.
This is where the magic really happens!
As long as the piece is under 20g and around the size of a £2 coin, it’s possible to fire with a kitchen blow torch instead of a kiln.

I love using a blow torch, because the clay transforms to silver in front of your eyes – this is real life alchemy at work and I still get a little thrill every time we do this, as do my students too!
When heated to a certain temperature (you can tell because the piece will glow a peachy colour), the binder burns off and the ultra fine particles of silver fuse leaving you with a piece of solid silver.
Once this is done, all that’s left is to polish and add a patina if you wish, to give an attractive antique finish to your jewellery.
It really is that easy!
The joy of making silver clay jewellery in this way is that you need very few materials to get started. My one piece of advice which I tell to all my students on their first attempt is to let go of the outcome and enjoy the process – it’s so easy to get stuck in perfectionism but ultimately this will kill your creative spirit. Nothing is perfect first time round, but in many ways it’s the little quirky imperfections which make your silver clay jewellery beautiful and unique to you.